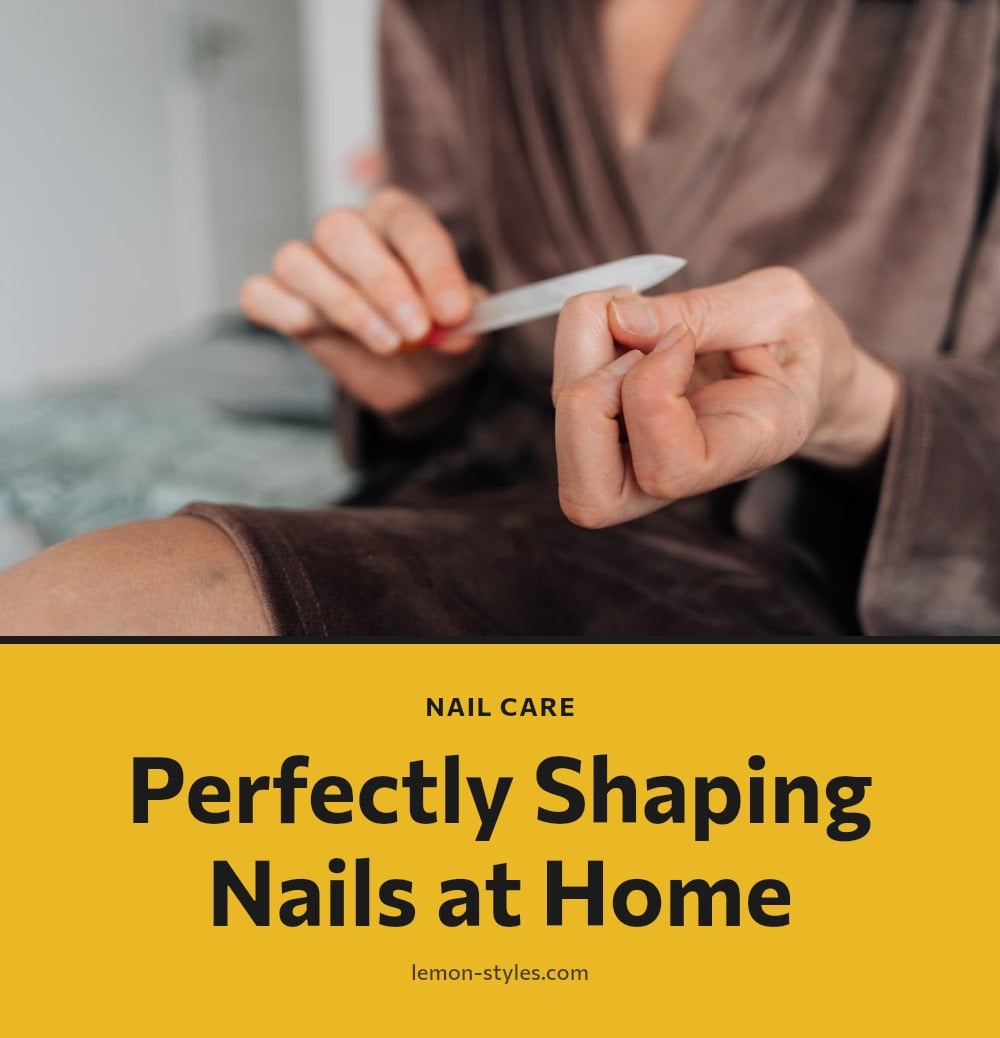
You want a clean, salon-worthy nail shape without the salon appointment. It starts with one good file and a little patience: pick a shape that suits your hand, then file dry nails in one direction, from the side toward the center.
This article walks you through the tools you need, the step-by-step technique, how to choose the best shape for your fingers, and the habits that keep your nails strong between sessions.
Key Takeaways
- File dry nails in one direction, from side to center, never back and forth.
- Use a fine-grit file (180-240) on natural nails to smooth without damage.
- Choose square, round, oval, almond, or coffin based on your finger and hand shape.
- Reshape every 1-2 weeks to maintain length and prevent breakage.
- Moisturize cuticles daily and finish with a clear top coat for protection.
1. Achieving Your Ideal Nail Shape at Home
You can get a salon-level shape at the kitchen table with one good file and a little patience. Pick a shape that suits your hand, then file dry nails in one direction, from the side toward the center, so the edge stays sealed instead of frayed. Sawing back and forth weakens the nail plate. The five shapes worth knowing are square, round, oval, almond, and coffin, and each one asks for a different amount of length.
2. Essential Tools for Shaping Your Nails
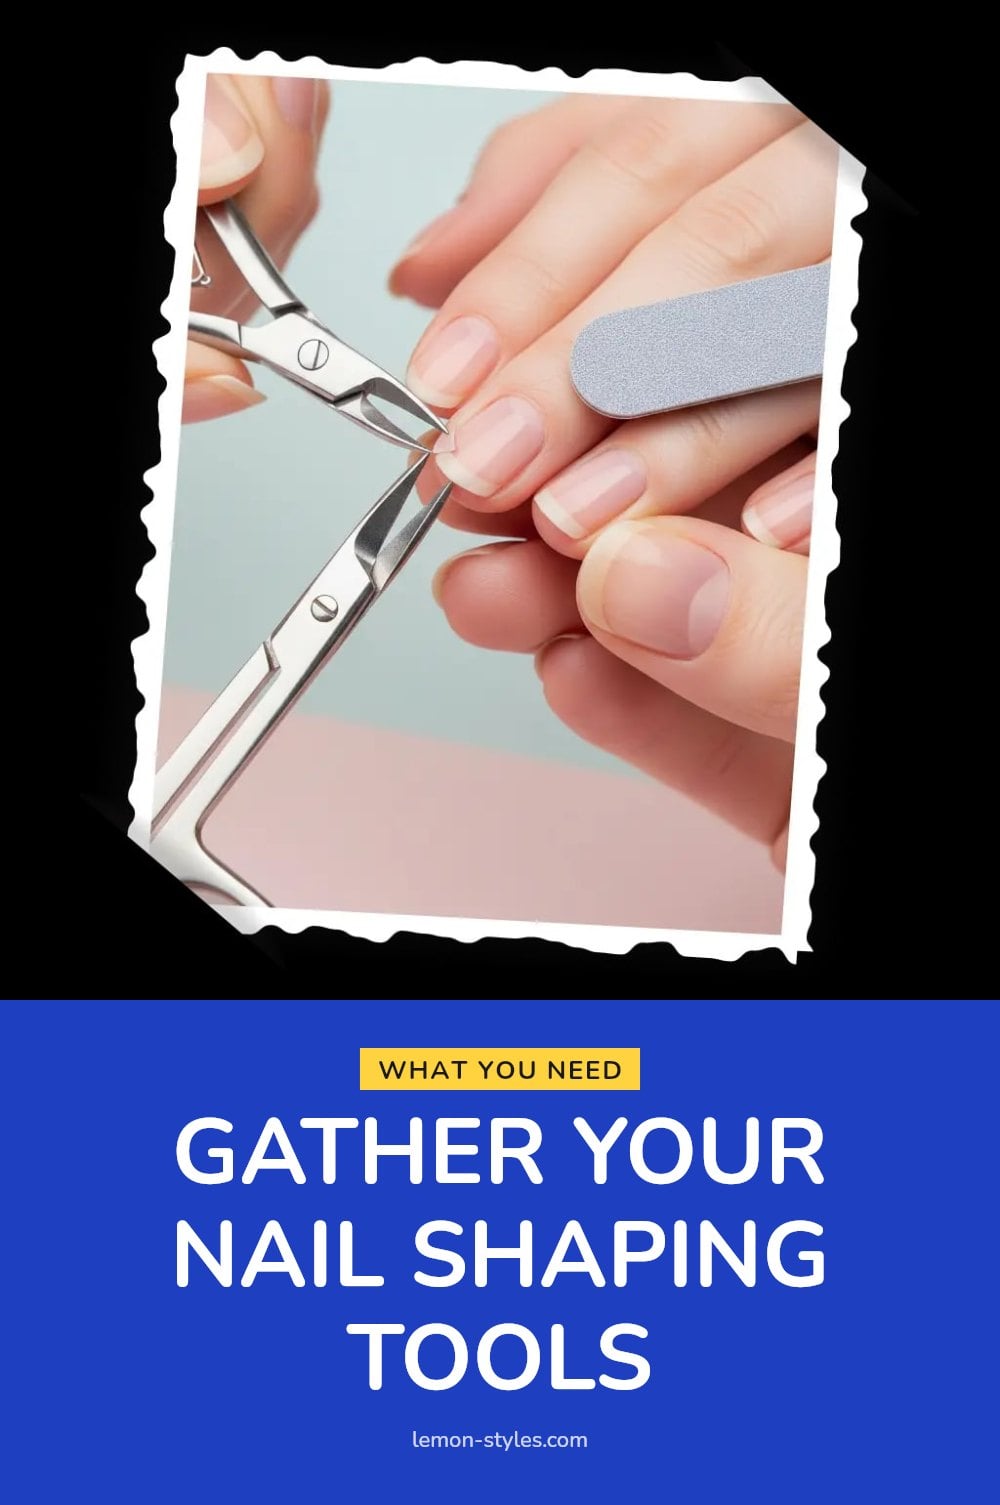
You need less than you think. Skip the drugstore set with a dozen gadgets and start with these.
- Fine-grit nail file (180-240 grit): the one tool you cannot skip. Coarser files tear at natural nails, while 180-240 smooths the edge without splitting it.
- Nail clippers: optional. Use them only to take down length before filing, never as your shaping tool.
- Nail buffer: lightly smooths the surface and preps it for polish.
- Cuticle oil and hand lotion: aftercare, not shaping. Keep both within reach and use them once you finish filing.
3. Step-by-Step Guide to Shaping Your Nails
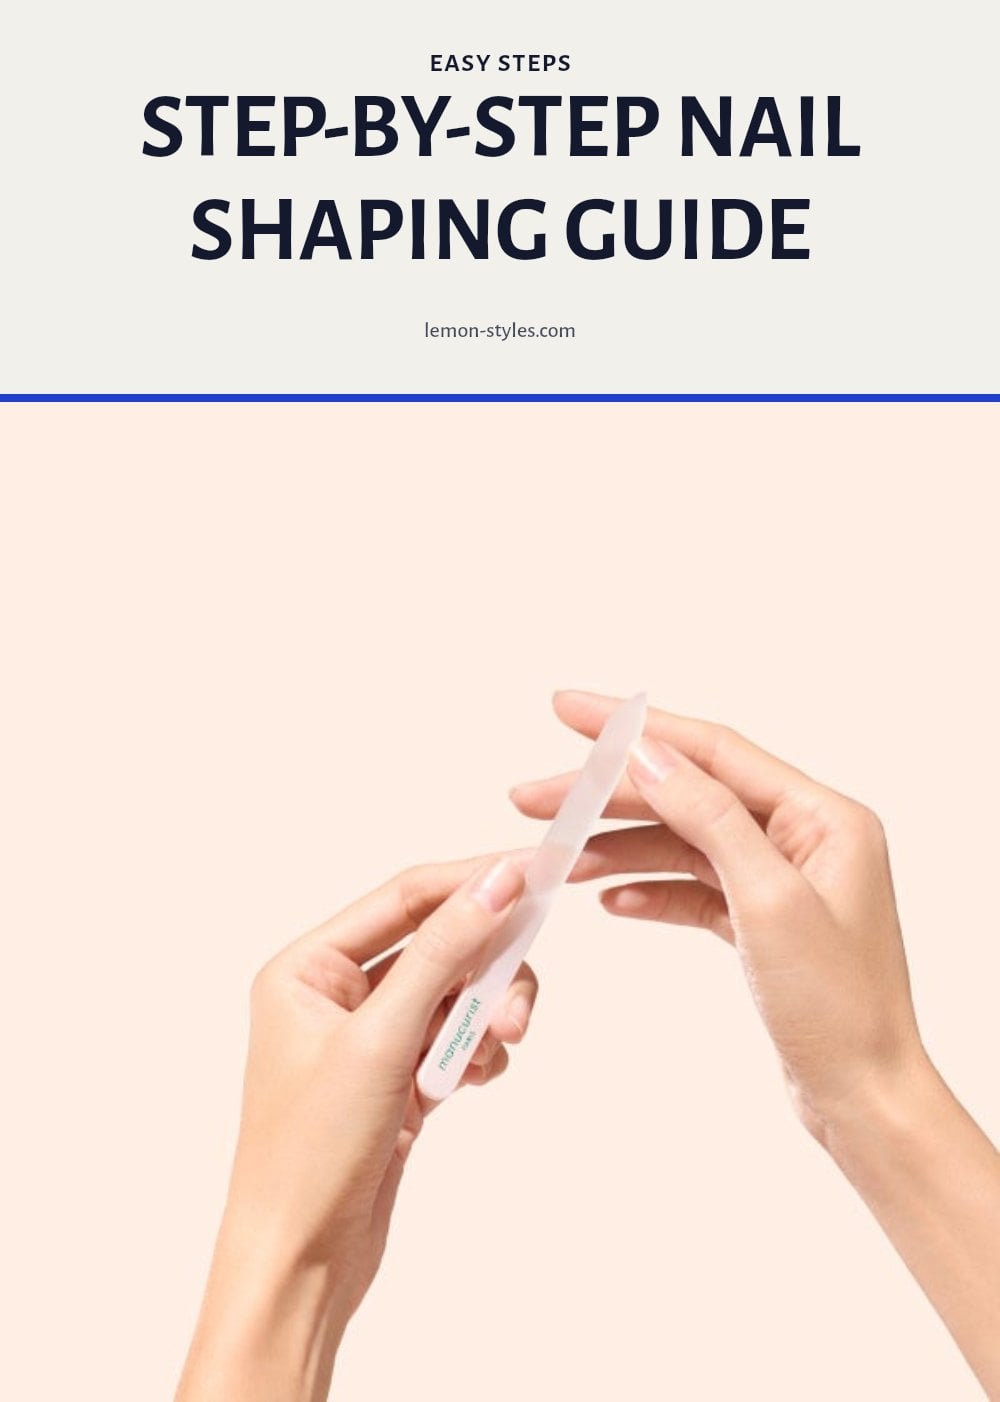
Work at a table with good light, and give yourself 15 minutes. Rushed filing is where most damage happens.
- Check that nails are dry and clean: file at least an hour after a shower or dishes. Wet nails bend and peel, and a file will shred the layers.
- Push back cuticles: use a cuticle pusher or your thumb, gently, so the full nail bed is visible. This shows you the real free edge you are shaping.
- Choose your shape: look at your fingers and nail beds before you touch the file. Wider beds suit square, long fingers suit oval or almond, and short active nails do well round.
- File from side to center: hold the file at a slight angle under the free edge and stroke in one direction, from the outer corner toward the middle. Repeat on the other side. Never saw back and forth.
- Use the fine-grit side: use 180-240 grit for all passes, checking the edge with your fingertip. Both sides should feel identical.
4. Choosing the Best Nail Shape for You
Your natural cuticle curve is a good starting guide: a shape that echoes it tends to look intentional rather than forced.
| Shape | Characteristics | Best for |
|---|---|---|
| Square | Straight across the tip, slightly tapered sides | Wider nail beds, strong modern look |
| Round | Follows the fingertip curve, short and even | Active hands, less breakage |
| Oval | Like round but extends past the fingertip | Elongating short or wide fingers |
| Almond | Tapers to a soft point, needs length | Long nail beds, elegant look |
| Coffin | Squared tip with tapered sides, needs real length | Dramatic statement, strong nails |
5. Common Nail Shaping Mistakes to Avoid
Even with the right tools, a few habits can undo all your work. Avoid these common mistakes to keep your nails strong and your shape clean.
- Filing wet nails: Wet nails are soft and prone to peeling. Always file when they are completely dry.
- Sawing back and forth: This motion frays the edge. File in one direction, from the side to the center.
- Over-filing the sides: Filing too deeply into the side walls weakens the nail and invites breakage. Keep the file at a slight angle and stop at the natural curve.
- Using a coarse file on natural nails: Coarse grits cause splitting. Stick to a fine-grit file (180-240 grit) for smooth, safe shaping.
- Ignoring your natural nail and finger shape: A shape that fights your cuticle curve or fingertip looks off and may not wear well. Let your natural features guide your choice.
6. Pro Tips for Stronger, Healthier Nails
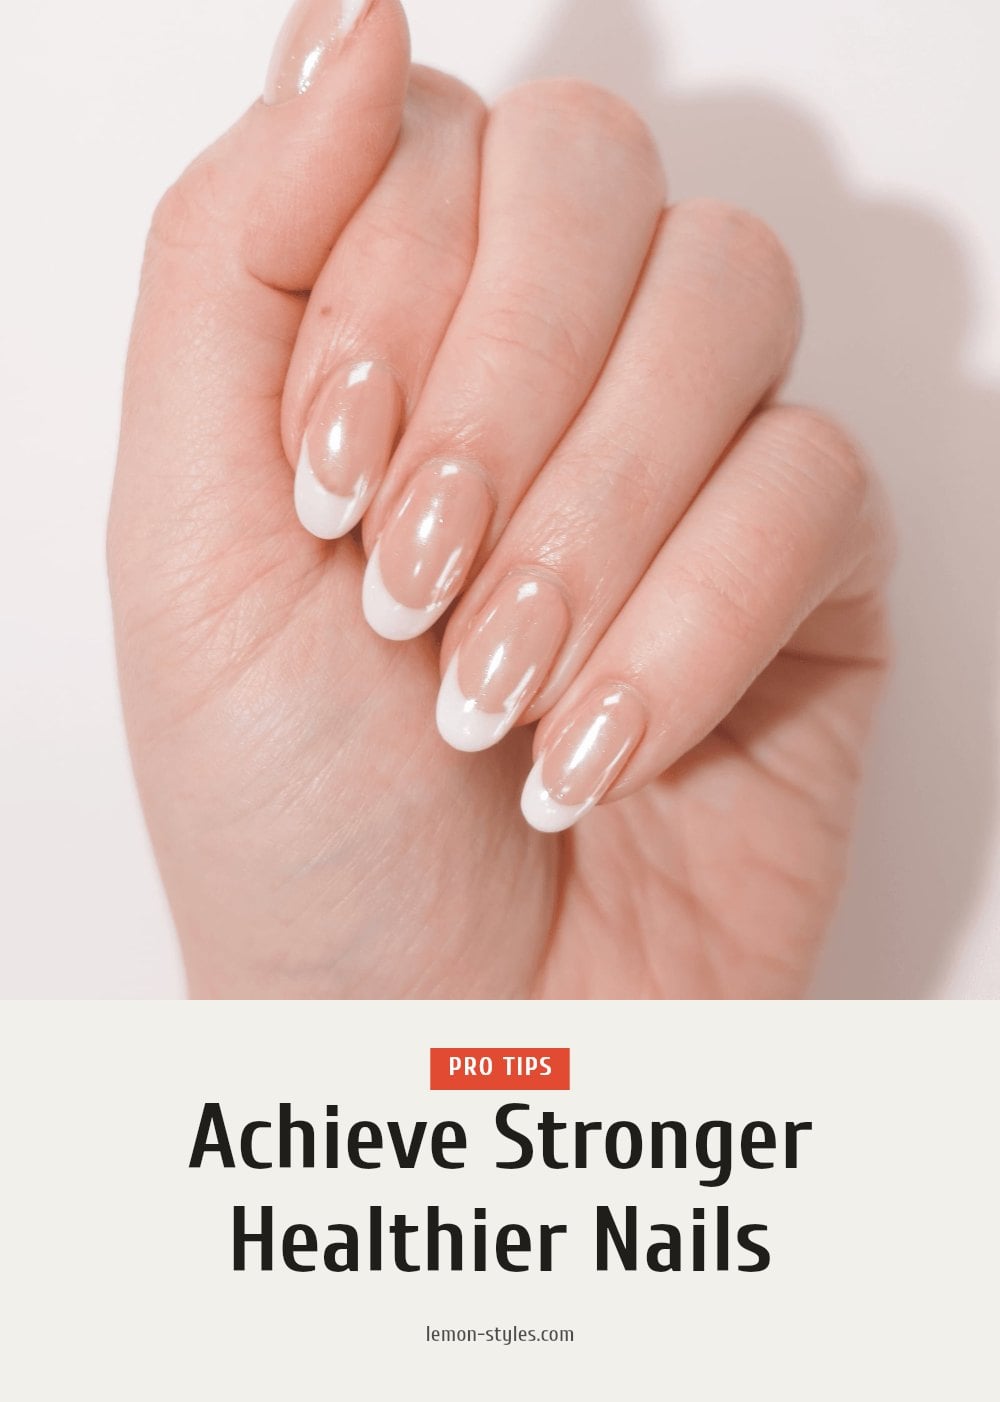
Once your nails are shaped, a few extra habits keep them looking great and reduce breakage between sessions.
- Match your shape: Choose a shape that complements your finger length and hand structure. A round or oval works well for shorter nails, while almond or coffin suits longer beds.
- Moisturize regularly: Rub cuticle oil or hand lotion into your cuticles and nails daily. Hydration prevents peeling and keeps the nail plate flexible.
- Protect your nails: Finish with a clear top coat or nail strengthener. This adds a barrier against chips and daily wear.
- Don’t rush: Take your time when filing. Slow, deliberate strokes give you precision and prevent you from over-filing or damaging the nail bed.
7. Maintaining Your Beautifully Shaped Nails
Your shaped nails need a little upkeep to stay neat and strong. Make these steps part of your weekly routine.
- Moisturize daily: Rub cuticle oil or hand cream into your cuticles and hands every day. This keeps the nail bed healthy and prevents hangnails.
- Add protection: Apply a nail strengthener or clear top coat every few days. It seals the edges and reduces the risk of chips and splits.
- Reshape regularly: File your nails every 1-2 weeks, or as soon as you notice uneven edges. This maintains your chosen shape and prevents snags.
8. When to Seek Professional Nail Care
Home shaping works for most people, but some situations call for a professional. See a doctor or nail specialist if you notice any of the following.
- Persistent pain, redness, or swelling: These could signal an infection or injury. Stop filing and get a medical opinion.
- Signs of infection or fungus: Discoloration, thickening, or a foul odor warrant a professional check. Avoid sharing tools to prevent spreading.
- Complex shaping needs: If you want an intricate shape or have very curved nails that are hard to manage, a nail technician has the tools and skill to do it safely.
- Very weak or damaged nails: If your nails are already splitting, peeling, or brittle, a professional can recommend treatments and guide you on the best shape to reduce stress.
9. Frequently Asked Questions
What is the best nail shape for short fingers?
Round and oval shapes tend to flatter short fingers because they follow the fingertip curve and create a softer, more elongated look. Square can work too if you keep it short and slightly tapered. Avoid very long almond or coffin shapes, which can overwhelm shorter fingers.
How often should you shape your nails?
Every 1-2 weeks is a good rhythm for most people. That keeps the length and shape in check before chips or snags turn into breaks. If your nails grow quickly or you are hard on your hands, aim for the shorter end of that range.
Can I change my nail shape if it’s naturally weak?
Yes, you can change the shape, but be extra gentle. Weak nails benefit from a fine-grit file and one-direction strokes, and you should avoid over-filing the sides. Keep nails dry when filing, moisturize daily, and consider a strengthener to protect the new shape.
What is the difference between oval and almond nail shapes?
Oval is similar to round but extends further past the fingertip for a more elongated look, while almond tapers to a soft point like an almond nut. Almond usually needs more length to achieve effectively, whereas oval works on shorter nails.
10. Final Thoughts
My tip: pick the shape that echoes your natural cuticle curve, then stick with it for a few weeks. Consistency makes the process faster and keeps your nails looking intentional. Expect to spend about 15 minutes every 1-2 weeks, and you will see less breakage and a neater edge over time.
If you are unsure, start with round or oval for practicality, especially if you are active. Your nails will thank you for the gentle, one-direction filing and regular moisturizing.