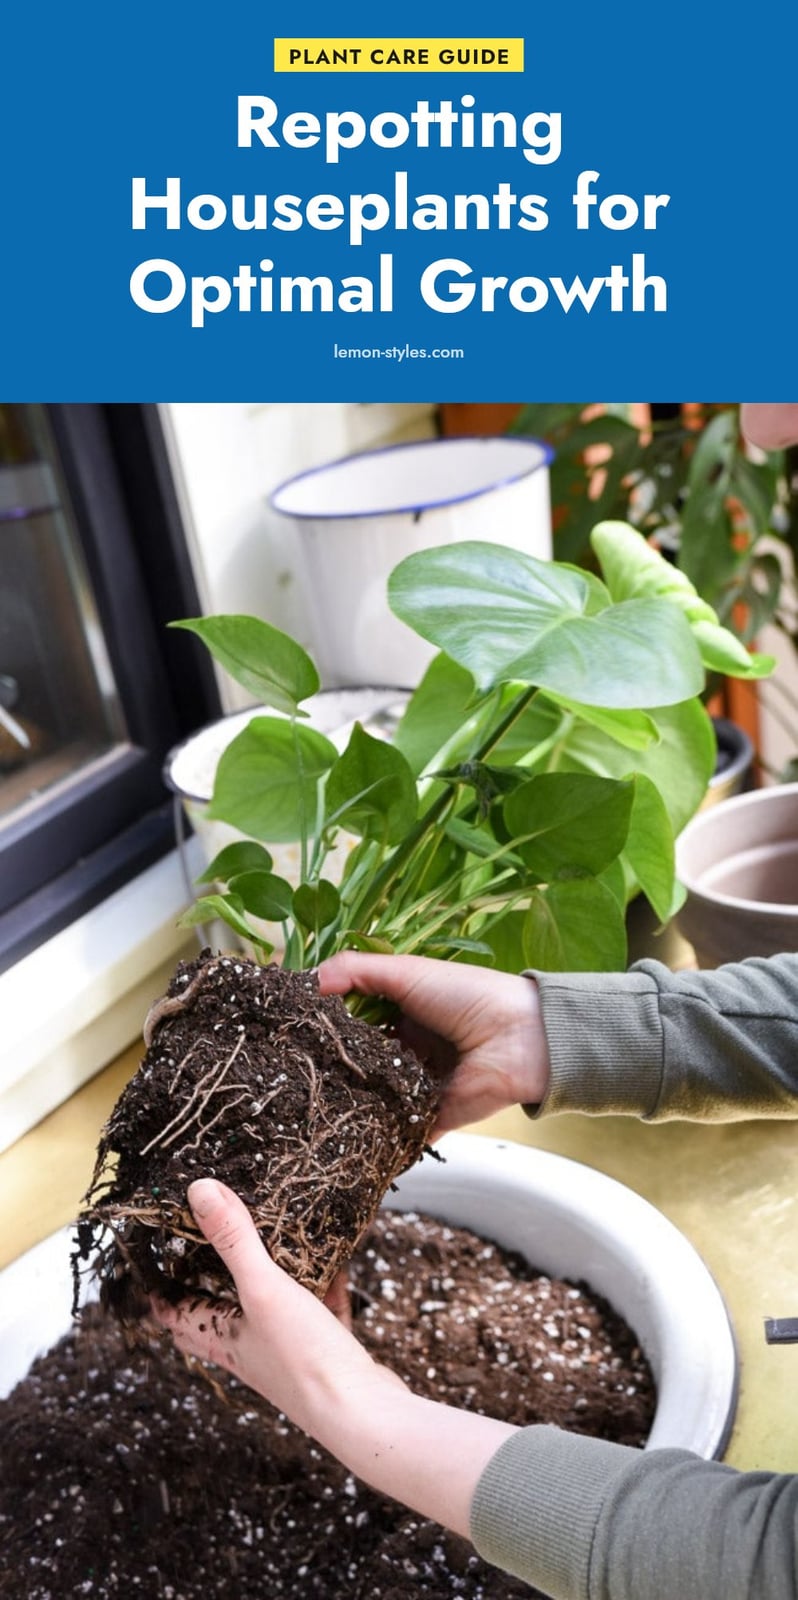
You’ve probably brought home a plant, watered it, and watched it grow for a while. But at some point, you’ll notice it’s not quite as happy as it used to be. The leaves might be smaller, or the soil dries out way too fast. That’s your plant telling you it’s time for a new pot. Repotting doesn’t have to be scary if you know what to look for and how to do it. This article covers the best time to repot, the tools you need, and the exact steps to do it without stressing your plant out.
Key Takeaways
- Repot most houseplants in spring or early summer when they are actively growing.
- Choose a new pot only one to two inches larger in diameter than the current one.
- Use fresh potting mix that matches your plant type, never garden soil.
- Water the plant thoroughly after repotting to settle the soil and remove air pockets.
- Wait at least a few weeks before fertilizing after repotting.
1. When Is the Best Time to Repot Your Houseplants?
Spring and early summer are the sweet spot for repotting most houseplants. That’s when your plant is entering its active growth phase, so it can recover quickly and put energy into new roots and leaves. If you notice roots poking out of the drainage holes, growth has stalled, or the soil dries out almost immediately after watering, those are clear signs it’s time for a new pot. Repotting refreshes the soil and gives roots more room, which can give a struggling plant a new lease on life.
2. Your Essential Repotting Toolkit
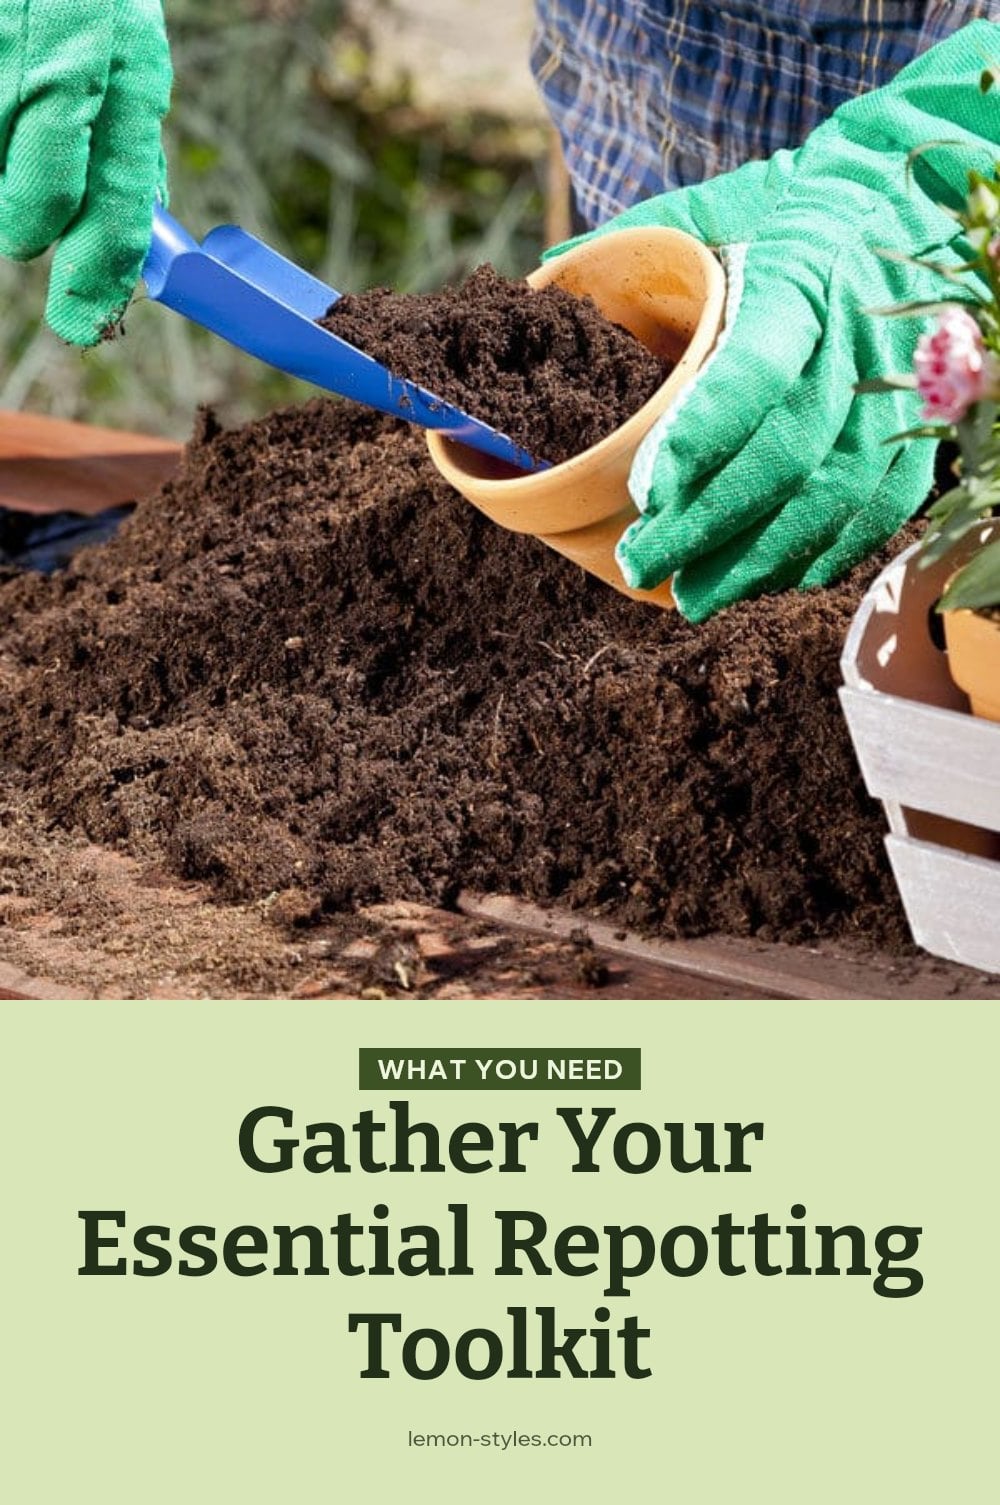
Before you start, gather everything you need. Having it all within reach makes the process smoother and less stressful for your plant.
- New plant pot: Choose one that’s one to two inches larger in diameter, and make sure it has drainage holes to prevent root rot.
- Fresh potting mix: Pick a mix formulated for your specific plant type, like succulent mix or orchid bark.
- Gardening gloves: Protect your hands from irritating sap and soil-borne bacteria.
- Small trowel or scoop: Makes handling soil easy and keeps your hands cleaner.
- Pruning shears or clean scissors: Useful for trimming damaged or circling roots.
- Watering can: You’ll need it for the thorough watering right after repotting.
3. Step-by-Step: How to Repot Your Plant Successfully
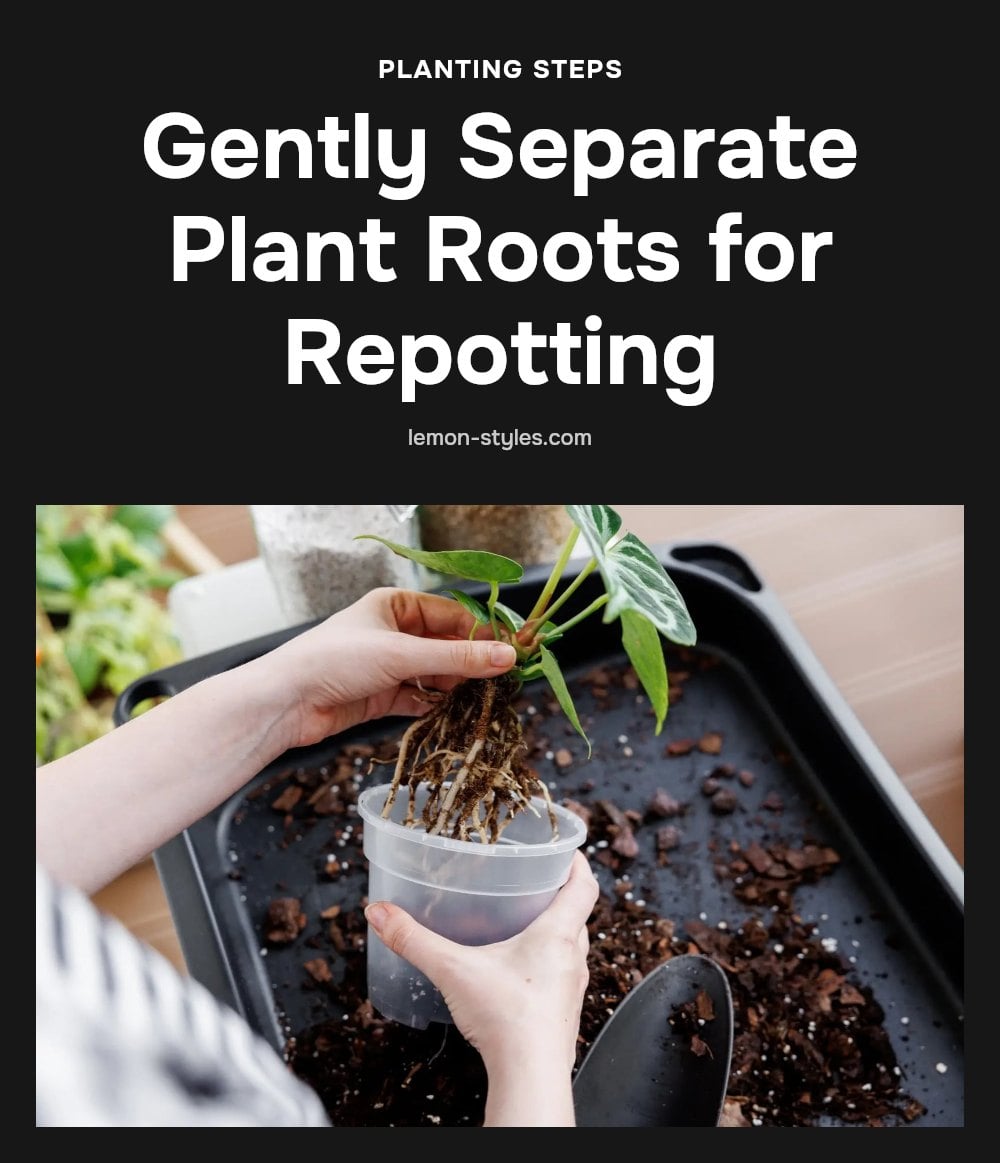
Follow these steps to repot your plant with minimal stress and maximum success.
- Remove the plant: Gently massage the sides of the old container to loosen the soil. If it’s stubborn, run a knife or spatula around the inside edge. Hold the plant by its base, not the stem or leaves, and ease it out.
- Tease the roots: Use your fingers to gently untangle any circling or matted roots. If the root ball is tight and spiraling, you can carefully snip a few roots to encourage new growth in the fresh soil.
- Set the level: Add a layer of fresh potting mix to the bottom of the new pot. Place the plant in and check that the top of the root ball sits at the same level it was in the old pot. Adjust the soil underneath as needed.
- Fill and water: Add soil around the sides, pressing lightly to remove air pockets. Then water thoroughly until water runs out of the drainage holes. This settles the soil and helps roots make contact with it.
If you learn better by watching, this 8-minute video from This is a Plant shows every step. The how-to part starts at 3:43.
4. Choosing the Right Pot: Porous vs. Non-Porous
The material of your pot affects how often you need to water. Here’s a quick breakdown:
| Pot type | Pros | Considerations |
|---|---|---|
| Porous (terracotta, clay, stone) | Allows air and moisture to pass through, reducing risk of overwatering. | Dries out faster, so you’ll water more often. |
| Non-porous (plastic, glazed ceramic, glass) | Retains moisture longer, good for plants that like consistent dampness. | Risk of waterlogging if you overwater. |
| Metal or stone | Stylish and sturdy. | Can absorb heat and ‘cook’ roots in direct sun. Add a plastic liner or move to shade. |
For beginners, porous pots are forgiving because they let excess moisture evaporate. If you tend to forget watering, a non-porous pot might be better. Just match the pot to your plant’s needs and your watering habits.
5. Common Repotting Mistakes to Avoid
Repotting mistakes can stress or even kill a plant, so it pays to avoid the common ones.
- Using the wrong soil: Always use fresh potting mix that matches your plant type, not garden soil. Garden soil compacts in containers and can harbor pests or diseases.
- Choosing too large a pot: A pot that’s more than one to two inches larger in diameter holds excess moisture, which can lead to overwatering and root rot.
- Damaging roots: Be gentle when untangling and trimming. Excessive root damage can stress the plant or kill it.
- Not watering after repotting: Watering thoroughly settles the soil and reduces transplant shock. Skipping this step leaves roots dry and vulnerable.
- Repotting at the wrong time: Avoid repotting during flowering or when the plant is already stressed, unless it’s severely root-bound and needs immediate help.
6. Pro Tips for a Smooth Repotting Experience
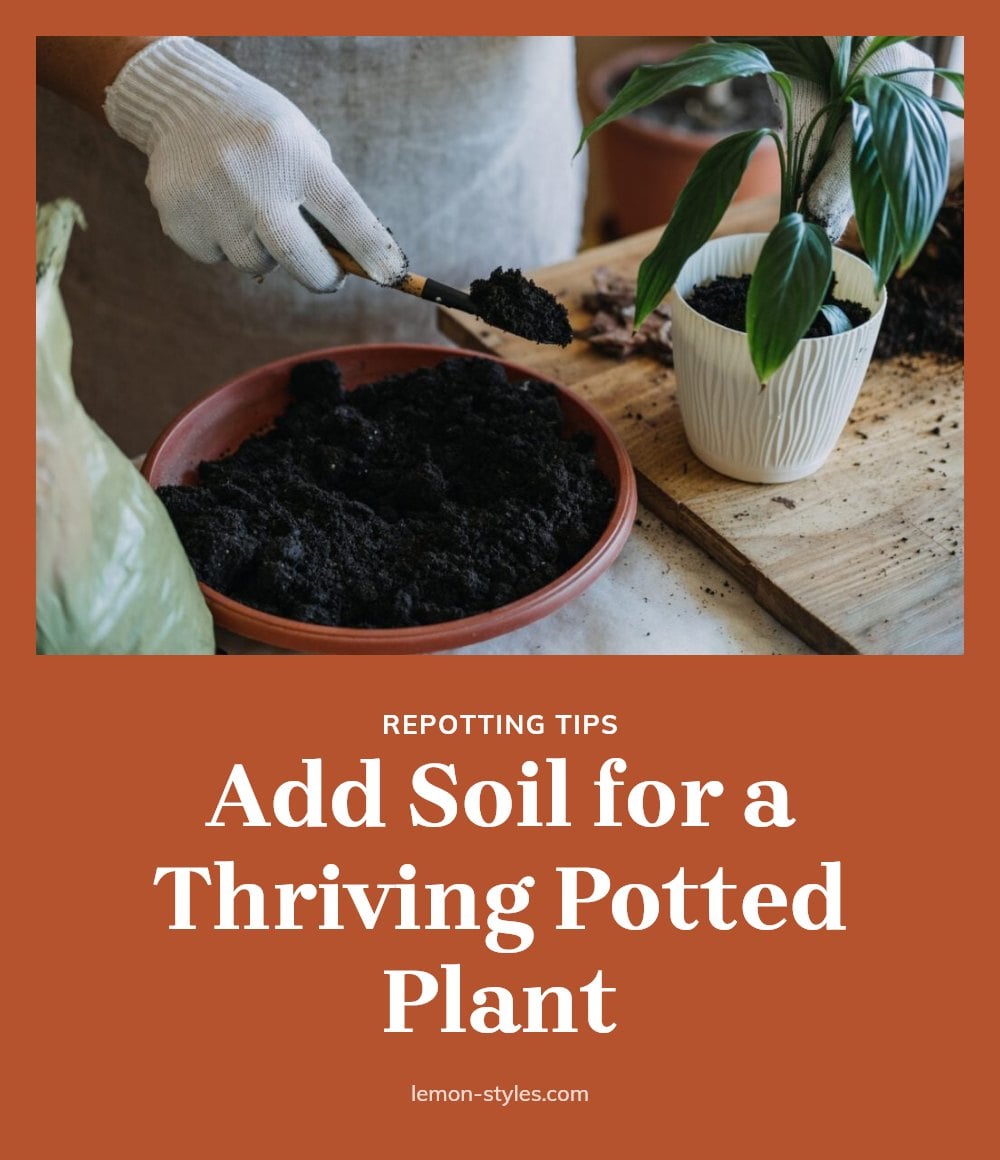
These small adjustments make the whole process easier on you and your plant.
- Loosen roots gently: Tease apart circling roots with your fingers. This encourages them to spread into the new soil and grow outward.
- Support the plant: Always lift and hold it by the base of the stem or the root ball, never by the stem or leaves, which can snap or bruise.
- Don’t pack soil too tightly: Press lightly to remove large air pockets, but leave the mix loose. Roots need air circulation to thrive.
- Post-repotting care: Place the plant in a slightly shadier spot for a few days. This reduces stress while it adjusts to the new pot.
- Wait to fertilize: Hold off on fertilizer for a few weeks. Fresh potting mix already contains nutrients, and roots need time to settle before taking up more.
7. What to Do After Repotting for Optimal Growth
The first few weeks after repotting set the stage for healthy growth.
- Initial watering: Water thoroughly right after repotting. This settles the soil and removes air pockets around the roots.
- Recovery period: Keep the plant in a slightly shadier, stable spot for a few days to a week. Avoid moving it around or exposing it to drafts.
- Monitor moisture: Check the soil regularly, especially if you moved to a larger pot. The extra soil holds water longer, so wait until the top inch feels dry before watering again.
- Hold off on fertilizer: Wait at least 2 to 4 weeks before fertilizing. This gives roots time to recover and establish without burning.
- Patience is key: Most plants recover from transplant shock within a few days to a couple of weeks. New growth is the best sign that your plant has settled in.
8. Frequently Asked Questions
How often should I repot my houseplants?
Most houseplants need repotting every one to three years, depending on how fast they grow and how large they get. Slower-growing plants like ZZ plants or Sansevieria can go longer without repotting. Check the roots and soil condition each year to decide if it’s time.
Can I repot a plant in winter?
It’s best to avoid repotting in winter because most plants are dormant and won’t recover as easily. If you absolutely must repot due to root rot or a broken pot, do it gently and keep the plant in a warm, stable spot afterward. But spring or early summer is ideal.
What type of soil should I use for repotting?
Always use fresh potting mix that’s formulated for your specific plant type. For example, succulents and cacti need a well-draining mix, while orchids require a bark-based medium. Never use garden soil, as it compacts in containers and can introduce pests or diseases.
How do I know if my plant is root-bound?
Signs of a root-bound plant include roots growing out of drainage holes, soil drying out very quickly after watering, and the plant pushing itself up out of the pot. If you see roots circling tightly around the root ball, it’s time to repot or at least loosen them.
Should I fertilize immediately after repotting?
No, wait at least a few weeks before fertilizing. The fresh potting mix already contains nutrients, and the plant needs time to recover from transplant shock. Adding fertilizer too soon can stress the roots and do more harm than good.
9. Final Thoughts
Repotting is one of the most rewarding things you can do for your plant. The key is to pick the right time, use the right pot size, and handle the roots with care. Expect your plant to take a few days to a couple of weeks to adjust after the move. Keep it in a slightly shadier spot during that time, and don’t fertilize until it’s settled. With these steps, you’ll set your plant up for healthy, vigorous growth.