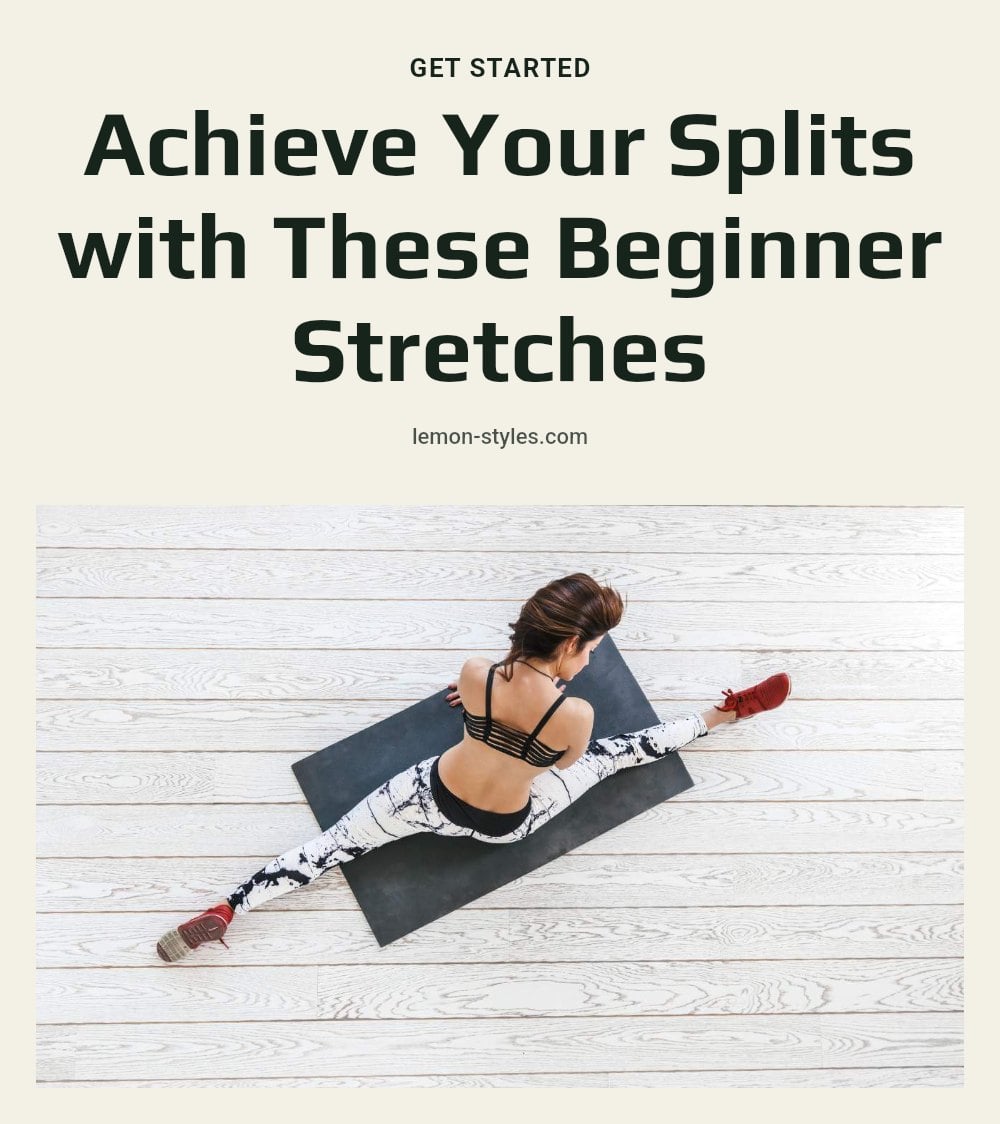
Maybe you’ve been dreaming of nailing those splits for dance, fitness, or just to prove you can. The secret isn’t forcing your body into position. It’s about smart, consistent stretching that actually works with your muscles, not against them. In this article, I’ll walk you through the key muscle groups to target, a safe beginner routine, and the common mistakes that could be slowing you down.
Key Takeaways
- Warm up for 5-10 minutes with light cardio and dynamic stretches before any static stretching.
- Hold each static stretch for 20-30 seconds and repeat your routine 3-5 times per week.
- Focus on hamstrings, hip flexors, and quadriceps for front splits; inner thighs for middle splits.
- Use props like yoga blocks or cushions to support your body and deepen stretches safely.
- Stop immediately if you feel sharp or sudden pain, stretching should feel like a gentle pull.
1. Achieving Your Splits Safely and Effectively
Getting your splits is a journey that rewards consistency, safety, and gradual progress. It’s not about forcing your body into a position quickly, but rather about slowly increasing your range of motion over time. Focus on warming up properly, targeting key muscle groups like hamstrings, hip flexors, and inner thighs, and always listening to your body to prevent injury. Patience and regularity matter more than intensity. With a steady routine, you’ll see progress, but it takes time, so set realistic expectations and enjoy the process.
2. Essential Tools for Your Splits Journey
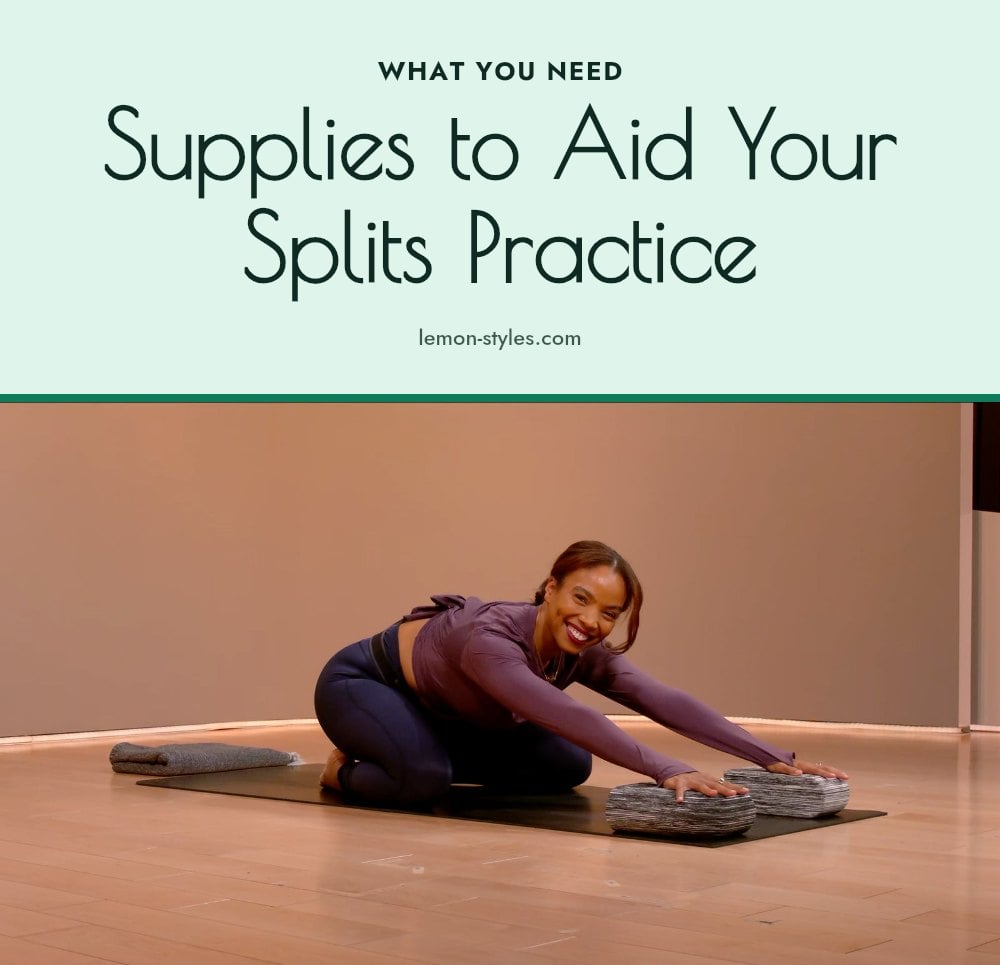
You don’t need a lot of gear to start training for splits, but a few essentials can make the process safer and more comfortable.
- Yoga mat: Provides cushioning and grip so you can stretch without slipping.
- Yoga blocks: Support your body in deep stretches and help you maintain proper alignment.
- Cushions or pillows: Offer extra comfort under your knees or hips, especially on hard floors.
- Stretching strap or resistance band: Assists in reaching farther into stretches, helping you deepen them gradually.
3. Understanding Front and Middle Splits
Front Split
The front split has one leg extended forward and the other leg back, with your hips squared to the front. This position primarily targets the hamstrings, hip flexors, and quadriceps. It’s a common goal for dancers and gymnasts.
Middle Split
The middle split involves both legs extended out to the sides, forming a straight line. This position focuses on the hip adductors, or inner thighs, and the hamstrings. It requires a different kind of flexibility and is often used in martial arts and yoga.
4. Step-by-Step: Your Splits Stretching Routine
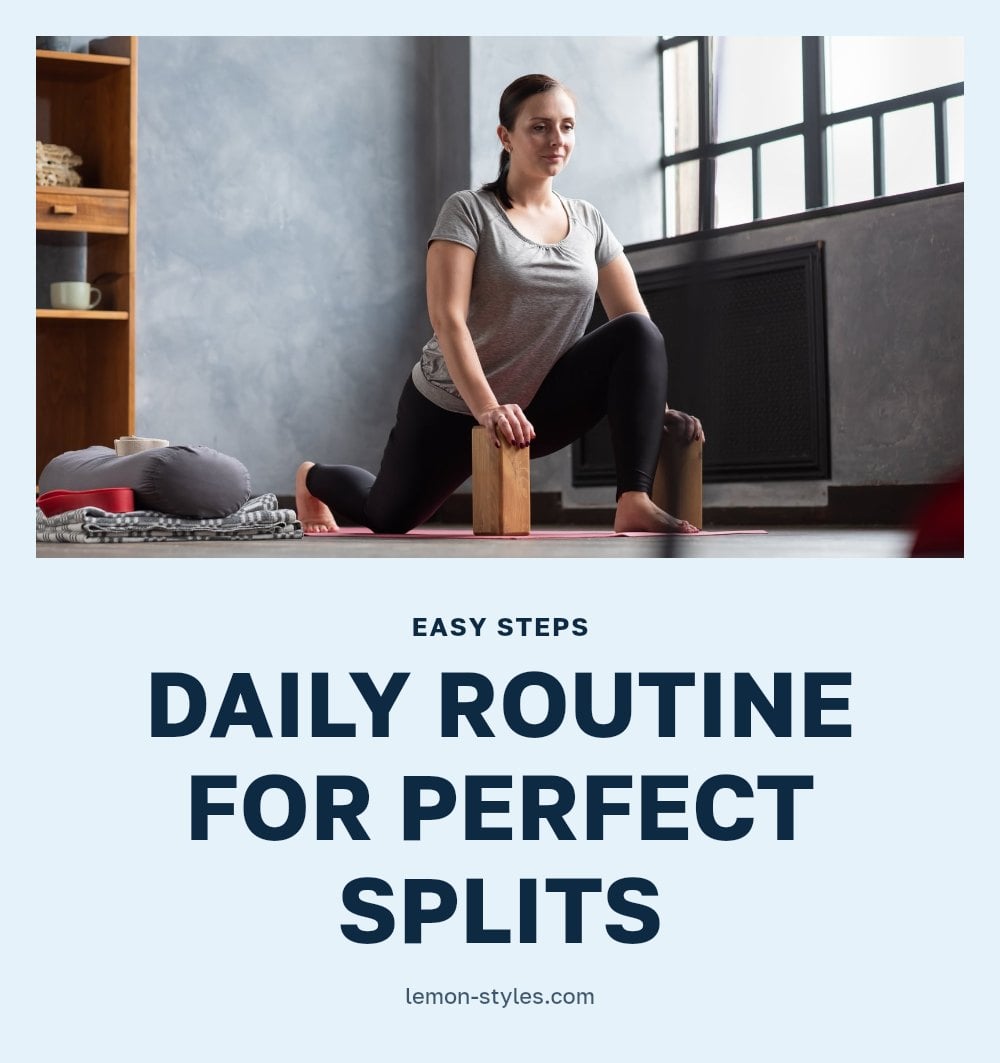
Follow this routine 3-5 times a week, holding each static stretch for 20-30 seconds and breathing deeply throughout.
- Warm up: Start with 5-10 minutes of light cardio, like jogging in place or jumping jacks, then do dynamic stretches such as leg swings and hip circles to increase blood flow.
- Target front split muscles: Do lunges to stretch hip flexors, seated forward folds for hamstrings, and kneeling quad stretches. Hold each for 20-30 seconds.
- Target middle split muscles: Perform butterfly stretches, frog poses, and wide-legged forward folds to open the inner thighs and hamstrings. Hold each for 20-30 seconds.
- Use props wisely: Place yoga blocks under your hands in seated stretches or under your thighs in frog pose to support your body and allow a safe, deeper stretch.
- Practice your split: Slowly ease into your chosen split position, using blocks or cushions under your hips for support. Hold for 20-30 seconds, breathing deeply.
- Listen to your body: You should feel a gentle pull, never sharp pain. If you feel sharp pain, ease off immediately. Consistency beats intensity.
5. Common Mistakes to Avoid When Training for Splits
Most stalled splits progress comes down to a handful of habits, and each one has a simple fix.
- Skipping the warm-up: Cold muscles resist lengthening. Do 5-10 minutes of light cardio plus a few dynamic leg swings before any static stretch.
- Pushing through pain: A stretch should feel like a gentle pull. Sharp pain means back off, not push harder.
- Stretching once a week: Aim for 3-5 sessions a week. Sporadic effort resets your range of motion between sessions.
- Training only one area: Front splits need hamstrings, hip flexors, and quads. Middle splits need inner thighs and hamstrings. Missing one group caps your progress.
- Cutting holds short: Hold each static stretch for 20-30 seconds. Shorter holds rarely give the muscle time to release.
- Bouncing: Bouncing during a static stretch triggers a protective muscle reflex that tightens things up. Hold still and breathe.
6. Expert Tips for Faster and Safer Splits Progress
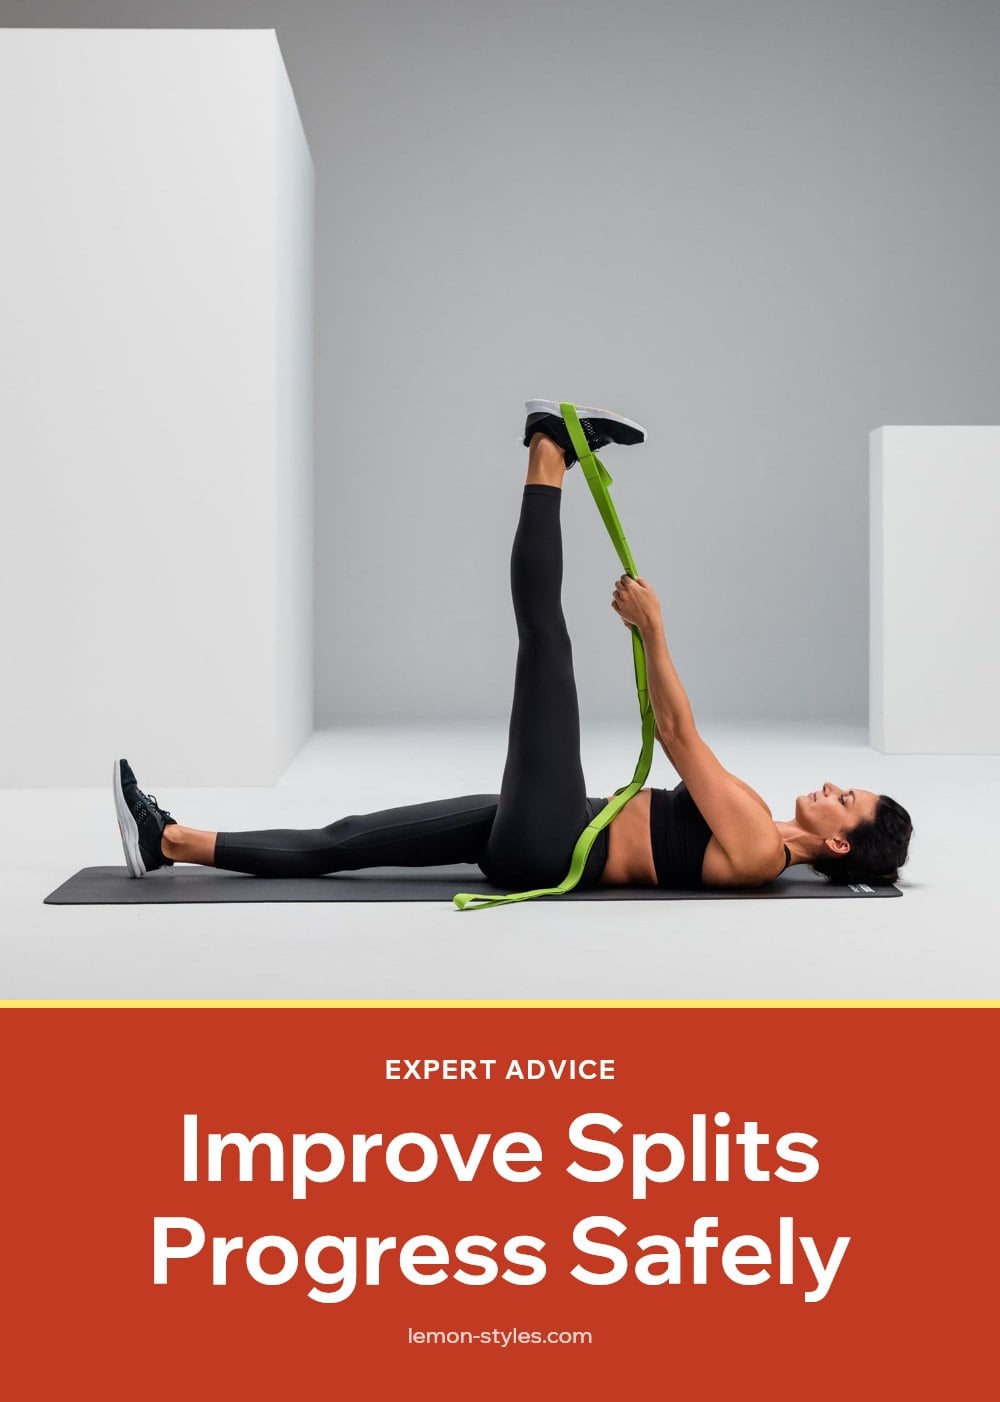
Small adjustments in how you practice can speed things up without adding risk.
- Show up regularly: Three to five sessions a week beats one long weekend stretch every time.
- Read the signal: A warm, pulling sensation is progress. Sharp or sudden pain is your cue to ease off.
- Let props help: A block under each hand or a strap around your foot lets you hold form at a depth your body can actually control.
- Breathe into it: Slow, steady exhales help muscles release. Holding your breath does the opposite.
- Build both kinds of flexibility: Passive range, where a prop or gravity does the work, and active range, where your own muscles lift the leg, matter equally. Add a few slow leg lifts at the end of each stretch.
- Stay in your lane: Comparing your progress to someone else’s ignores starting point, hip structure, and training history.
My tip: Log your sessions in a notes app with the date and how each stretch felt. Seeing three weeks of entries is far more motivating than guessing.
7. What to Expect: Timeline for Achieving Your Splits
There is no fixed schedule. Reaching your splits can take weeks for some people and over a year for others, and both are normal.
Three things drive the pace: your starting flexibility, how consistently you practice, and your individual hip and muscle structure. Results tend to arrive gradually. One week a stretch feels slightly deeper, a month later your blocks sit lower, and the floor gets closer without a dramatic breakthrough moment.
The cost is minimal. A mat, a pair of blocks, and a strap are one-time purchases, and a cushion from the couch works fine as a substitute while you decide whether to buy anything.
8. When to Consult a Professional
Stretching is low risk when you respect pain signals, but it is not risk free. Stop immediately if you feel sharp, sudden pain, especially in a joint. That is different from a muscle pull and worth taking seriously.
Talk to a doctor or physical therapist before starting a splits routine if you have pre-existing injuries or medical conditions, including hip, knee, or lower back issues. They can tell you which stretches to modify or skip.
Seek medical advice if pain persists after stretching rather than fading within a day or two. Overstretching can lead to muscle strains, tears, or joint injuries, and pushing through persistent pain tends to make recovery longer.
9. Frequently Asked Questions
How long does it take to achieve the splits?
It varies widely. Some people reach their splits in a few weeks, while others take over a year. Your starting flexibility, how consistently you practice, and your individual hip and muscle structure all play a role. The key is patience and regular practice.
Can I do splits if I’m not naturally flexible?
Absolutely. Flexibility is something you can build over time with consistent stretching. Many people who start as beginners eventually achieve their splits. Focus on gradual progress and listen to your body to avoid injury.
What’s the difference between front and middle splits?
The front split has one leg forward and one leg back, targeting the hamstrings, hip flexors, and quadriceps. The middle split has both legs out to the sides, focusing more on the hip adductors (inner thighs). Each requires slightly different stretches.
How often should I stretch for splits?
Stretching 3-5 times per week is generally recommended for steady progress. Consistency matters more than intensity, a few short sessions each week beat one long session done irregularly.
Is it normal to feel discomfort when stretching for splits?
Yes, a gentle pulling sensation is normal and signals that your muscles are lengthening. However, sharp or sudden pain is not okay. That’s your body telling you to stop or ease off. Always distinguish between productive discomfort and harmful pain.
10. Final Thoughts
My tip: pick three stretches you actually enjoy and stick with them consistently rather than trying a new routine every week. Expect to see small gains over weeks or months, not overnight. Remember, every time you show up on your mat, you’re getting closer, even if it doesn’t feel like it yet.
This article is for general informational purposes only and does not constitute medical or professional advice. Always consult a doctor or physical therapist before starting a new stretching routine, especially if you have pre-existing injuries or medical conditions.